An HDR Photo Shoot
Haven't been around these parts in a while, been missing the photography, so today's goal was to get in a solid HDR workout. I have been working on the airplane quite a bit recently so I haven't had much time for the camera. Just a quick review: HDR is high dynamic range photography; it is software based, and used in situations where lighting is high in contrast, such as shooting into a setting or rising sun or into a bright sky. The human eye adapts very nicely to these situations, much better than the camera, so the idea is to take 3 to five images of the same subject, bracketing the exposure so that you end up with one or more underexposed images, same number of overexposed images, and one correctly exposed image. The software then processes the exposures and blends all the images into the final HDR photograph.
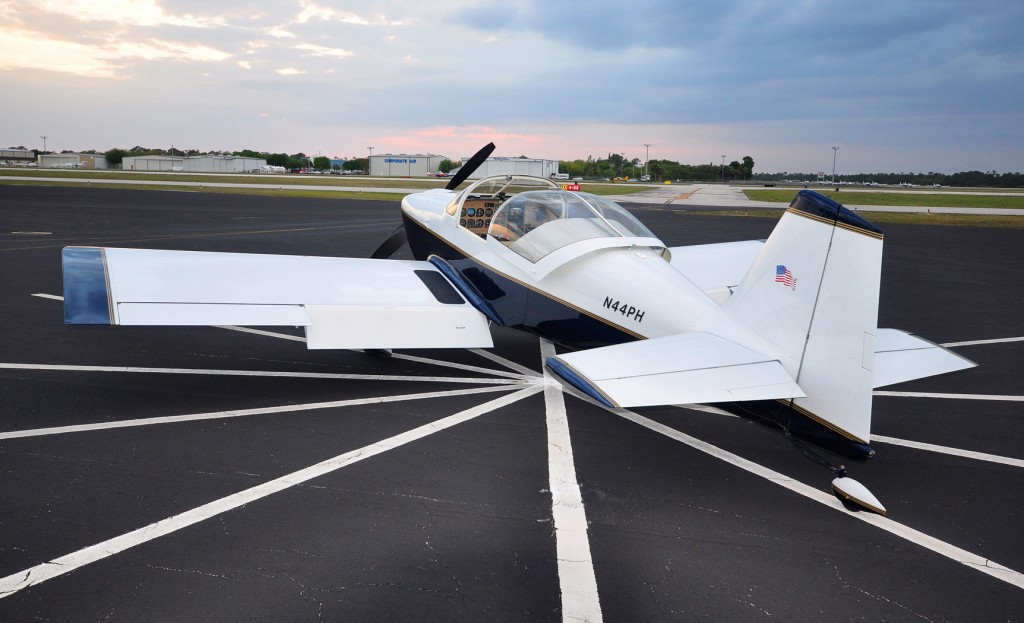
So today's subject was my RV-6 at sunset. I had been making a new tail wheel fairing to match the main gear fairings. The tail wheel fairing is completely optional--not necessary for the airworthiness of the aircraft at all. So its purpose is mostly aesthetic; however, there is also an element of cleaning up the aerodynamics of the tail wheel area. Not enough to appreciably reduce any drag or add any speed, but certainly it doesn't hurt--anyway, it sure makes it look about 20 knots faster! I had this fairing since the building days and it was just gathering dust on a shelf in the hangar. So I finally decided to fit it and paint it to match the other pants [make that "wheel" pants - thanks, Britt!] on the airplane. It just adds a nice finishing touch to the airplane in my opinion!
So I took the airplane out to my favorite setting: the compass rose on the airport. I just like the way the rose lines play with the symmetry of the lines on the airplane. I also took a few HDR shots in front of the hangar and inside the hangar which I've included at the end of this post.
Here is a hand-held shot of the airplane on the compass rose to establish a baseline for the HDR shoot. I just used a little fill flash to take out the shadows caused by the fading light.
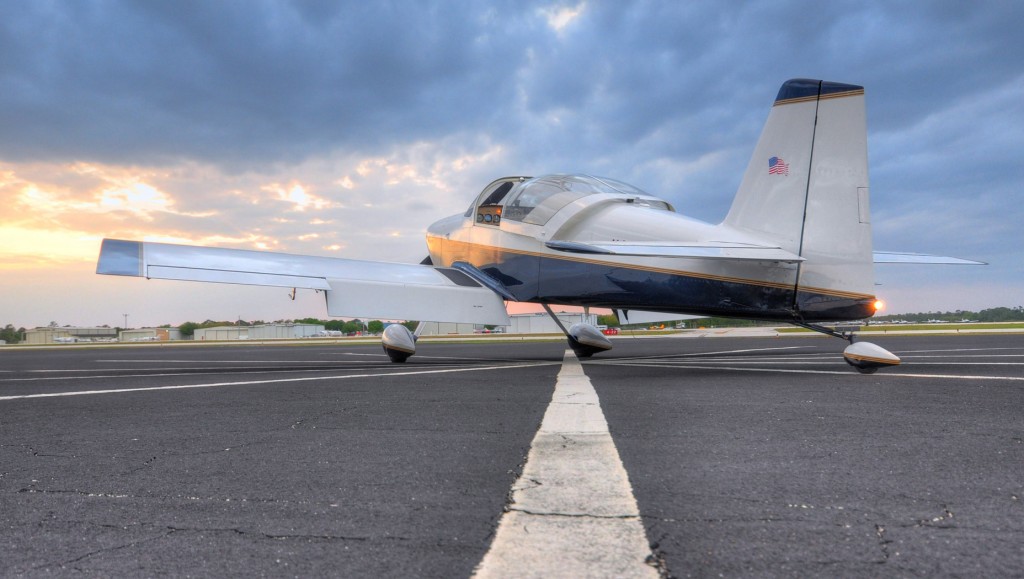
Notice how the small amount of flash tends to wash out the sky in the background. The object with the HDR exposures is to use only natural light provided by the setting sun and its reflections off the sky and clouds. If you're lucky, the combination of sun angle and cloud cover can make for a very pretty sky at sunset. The problem is that shooting into the sunset tends to underexpose the parts of the airplane that are in the shadows, or you overexpose the sky and sunset. Your eye can see it rather well, but the camera cannot--so HDR tends to simulate what the human eye would see in this situation. Here is an example:
Notice how the sunset bathes the airplane in a nice, warm glow, compared to the rather harsh look of the flash fill.
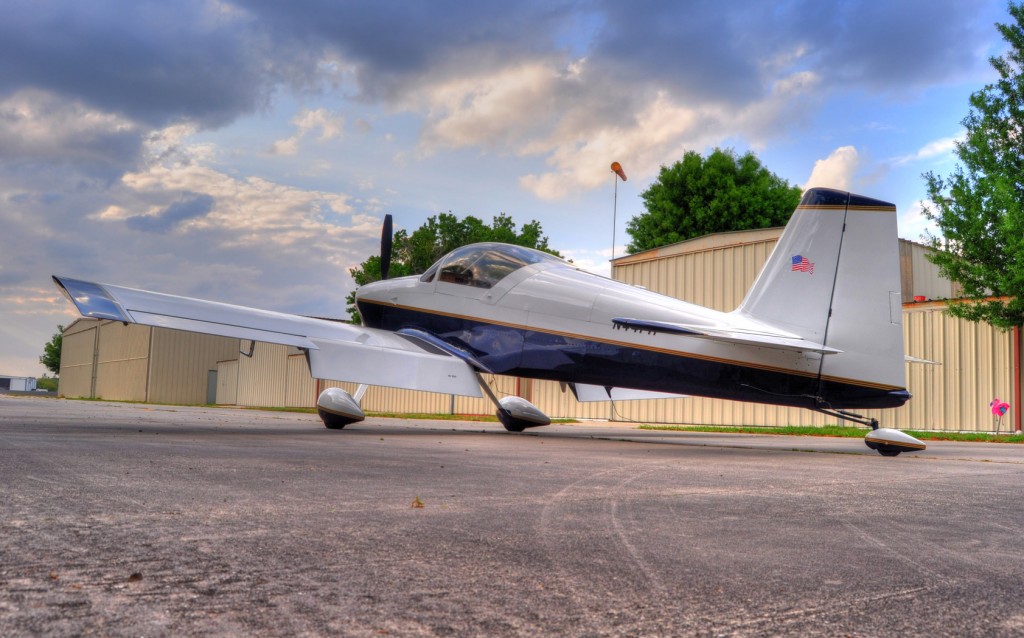
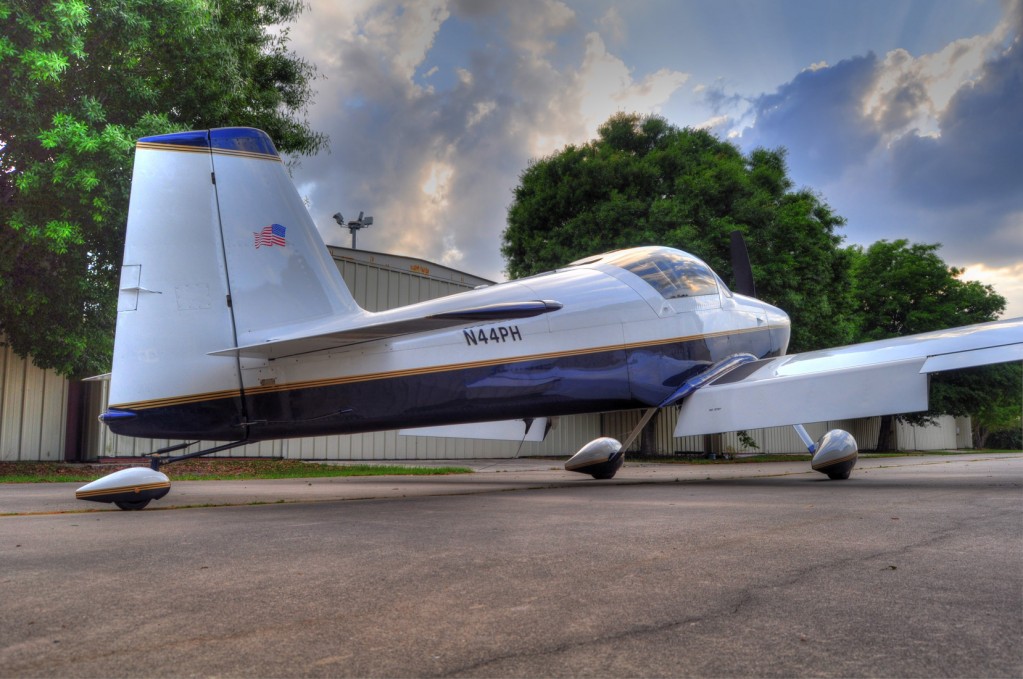
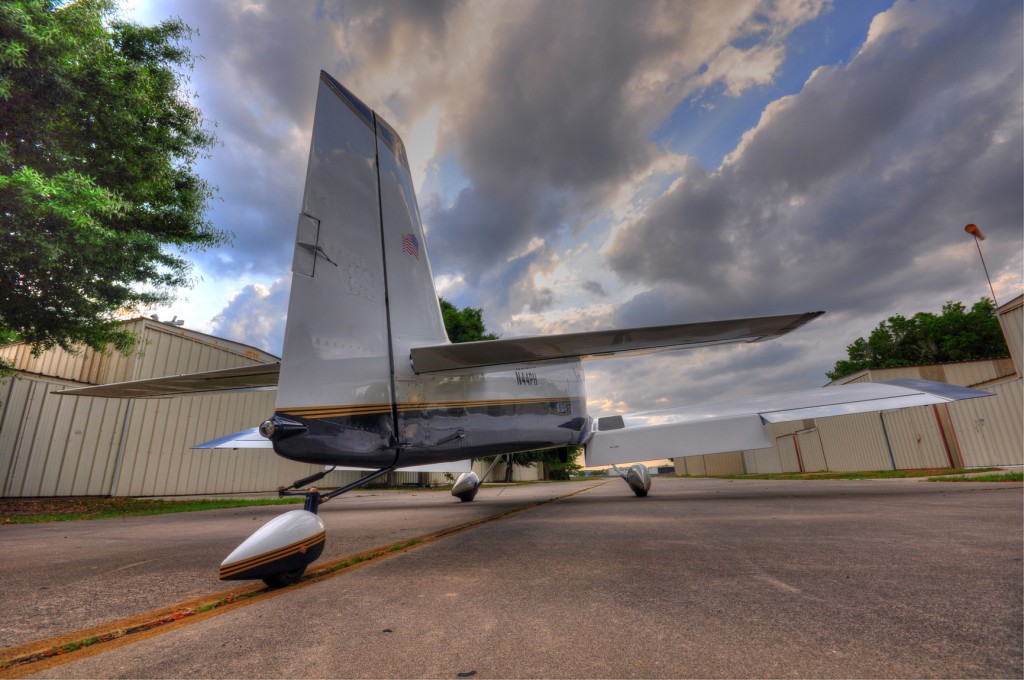
Here are a few more taken out in front of the hangar:
I took these pictures using a ground pod, an item of photographic equipment whose purpose it to get the camera as low to the ground as possible while keeping the camera steady and in the same relative position to the subject. I'll include a photo of the ground pod at the end of this post to give you an idea of how it works.
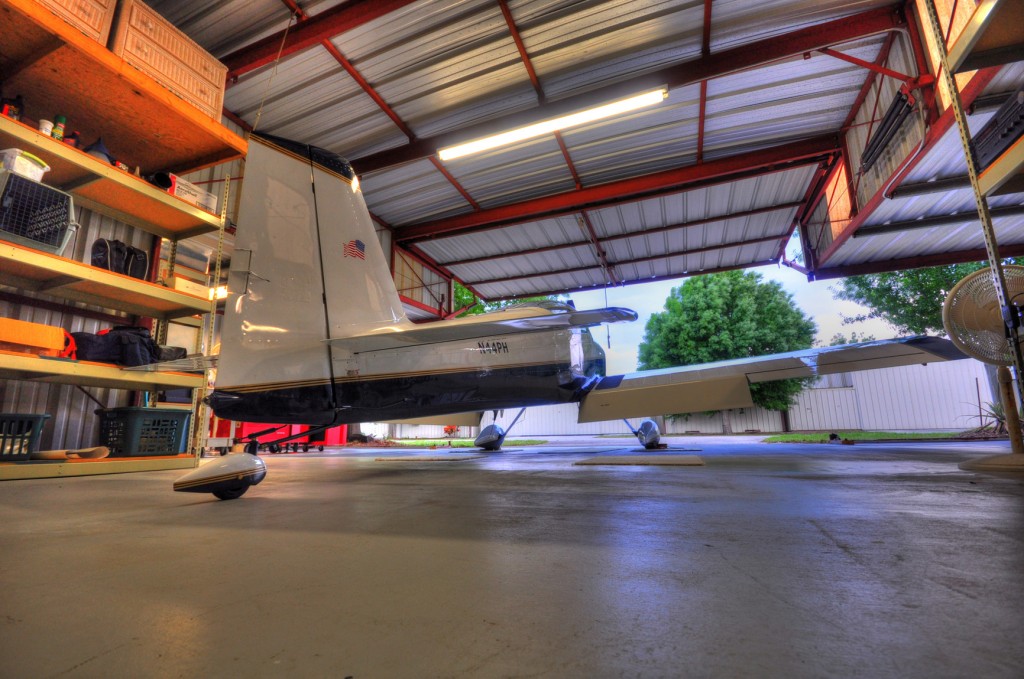
Here is an HDR image of the airplane in the hangar. The problem here is the bright light coming through the doorway that contrasts with the shadows on the tail of the airplane. Again, HDR does a nice job handling the high contrast conditions.
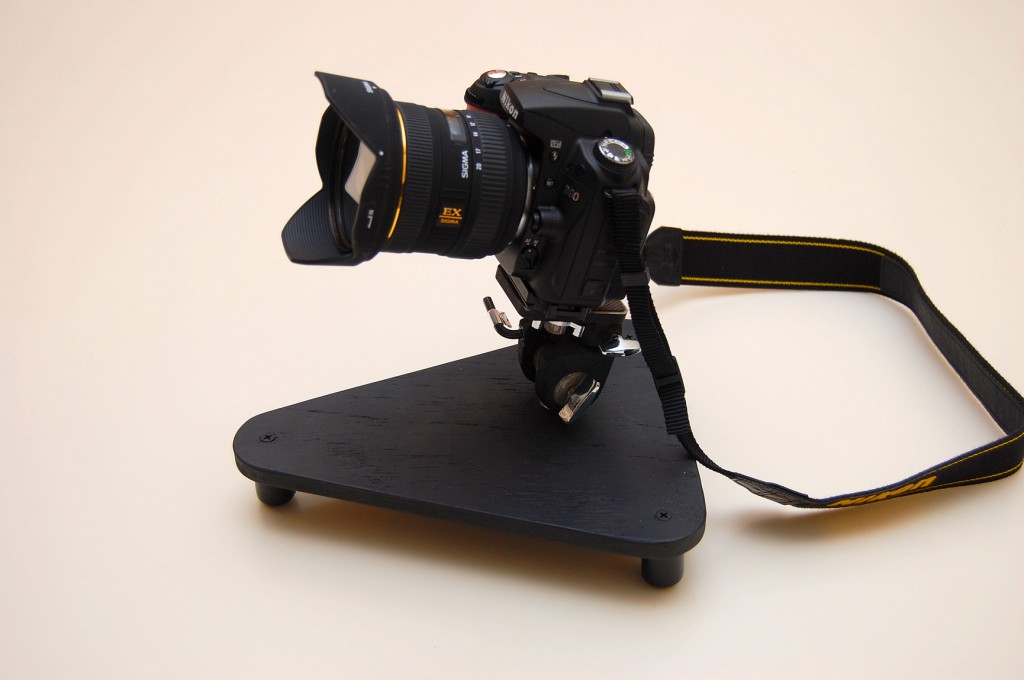
On the left is a picture of my homemade groundpod.
It is basically just a piece of plywood with an old tripod head mounted on it. The tripod head allows for camera positioning in 3 planes. The three legs are wooden dowels covered with plastic chair leg ends.
Commercial groundpods sell for several hundred dollars, but really all you need is the simple apparatus pictured, which is made easily and inexpensively in a home workshop.
As always, just click on a photo to see it in full size.
May 14th, 2010 - 05:44
How ya doin partner! Just dropped in to take a look to see what you’ve been doing and I was amazed at your pictures of your plane. Those angles are superb buddy! Especially from the ground view. The clouds or the sky is a perfect backdrop as well. Your getting pretty good with that thing…lol I just bought a Nikon D300 and I’m going thru a new learning curve as well. It’s got a faster frames per second rate and the metering choices I am still trying to grapple with. However things are looking up and I’m looking forward to trying her out this weekend up in Melbournes Vierra Wetlands. You take care Pat and keep em comin.