Learning the Off-Camera Lighting Technique
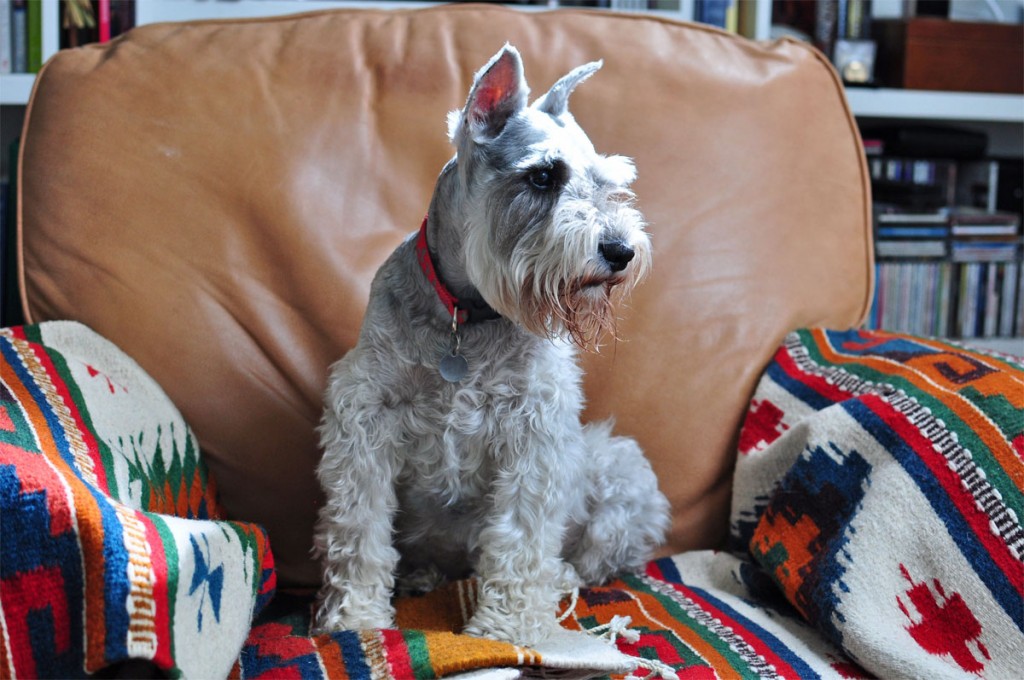
OK, so I passed the Strobist 101 course and have gone out and bought a few basics to get started in off-camera lighting. A pretty interesting part of the hobby, actually, and you can go as far as your time and money will allow. Instead of teaching the course, let me just delve into a few first attempts and then try to explain what is going on. Here is Max, my male Schnauzer model:
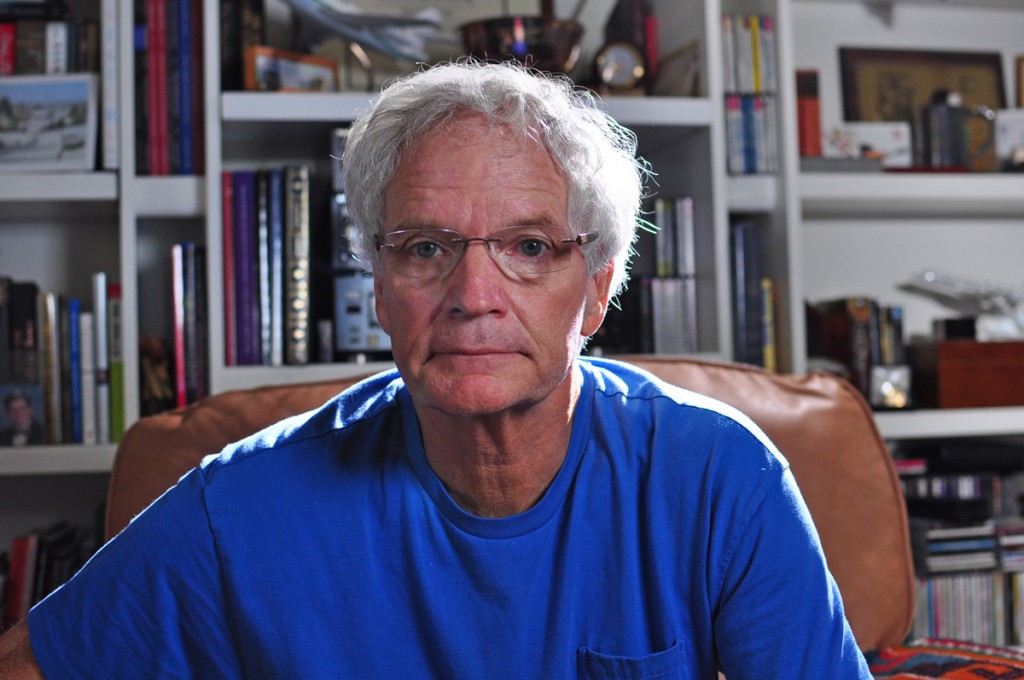
In the shot above, I was practicing balancing my off-camera strobe light with the ambient light coming in through the window on the left here in my home office. I had one strobe set up behind and to camera right with an umbrella on a stand. The strobe illuminates the interior of the umbrella creating a nice soft, diffused light. I also used a backlight strobe above and to the right of the subject with what's called a snoot on it to direct the light in a narrow beam behind and above the dog's head. This provides the rim or back lighting. The trick, and it's not easy until the technique is learned, is to balance all of the light sources to create the desired effect. Next, I imported a famous male model to use in the same setup now that Max had served as my guinea pig. This is what I see when I look in the mirror every morning, and believe me, it's getting pretty scary (it's just an illusion, though; on the inside I'm still 24).
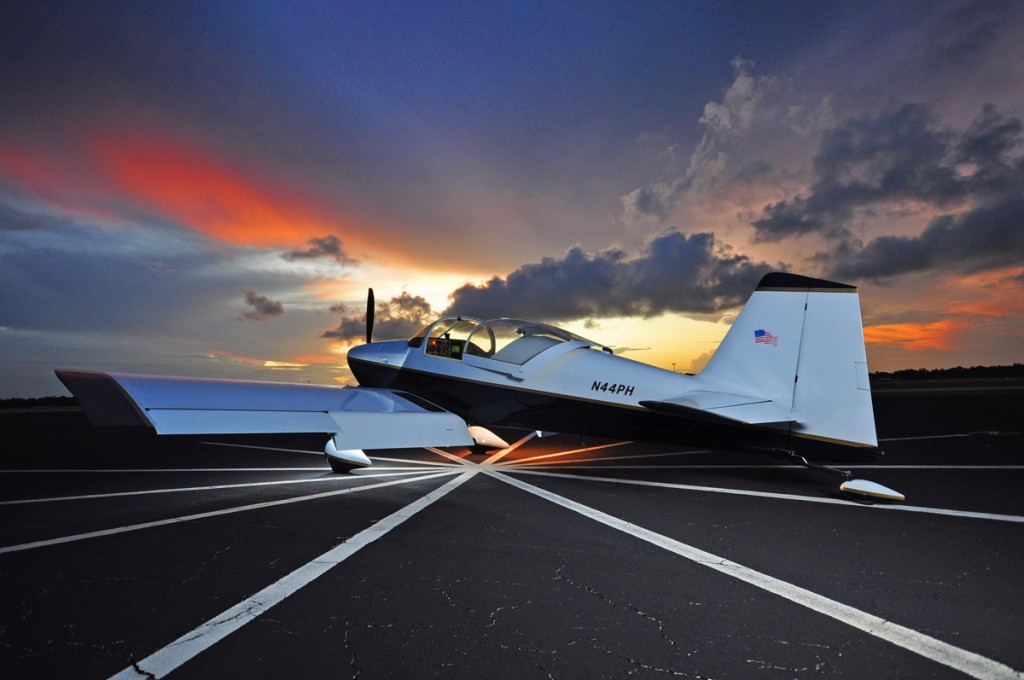
Okay, so much for the basics, but now let's try some real cool airplane at dusk stuff. In this shot I was attempting to use as much of the learning and equipment as I could—kind of a final exam for Strobist 101 and maybe graduate to Stobist 102. Here was the setup: I picked a day where I could see thunderstorms on the west coast of Florida building throughout the afternoon. Since I live on the east coast, this sets up some pretty amazing sunsets, if you're lucky. So I went up for a quick flight to check out the west horizon and the dissipating thunderstorms. I came back in and taxied to the compass rose (my usual spot for airplane photography). The plan was to orient the airplane such that the sunset was in front, camera behind, with two strobes set up low on the ground in front of the main wheels and hidden from view. Fill light was provided by a strobed umbrella on a light stand to camera right. I wanted to catch the intersection of the compass lines under the airplane and have it lit up, and the two strobes out front were intended for this purpose as well as to provide rim light around the front of the airplane. The camera was positioned to allow for the compass radials to lead the viewer from the edge to the center of the photo. Anyway, here is the result:
A couple of things that went wrong: I used a ½ CTO gel (an orange colored transparent film) in front of the forward strobes to simulate the rich light at sunset. The wind was blowing a little and blew the gel on one of the strobes right off its mount. So I got kind of a combination of light under the airplane as you can see. Also, I learned that the umbrella pretty much acts like a parachute and with any breeze at all, tips the light stand over. Luckily, I was able to catch it before it hit the ground. But now I use my trusty 25-pound shot bags on the legs of the tripod. I would have liked to have turned on the tail navigation light, but forgot. I also should have used my new LED instrument panel eyebrow lights to illuminate the panel, but forgot that too. Oh well, next time. Yes, it was a learning experience after all.
Chloe’s Summer at the Barn
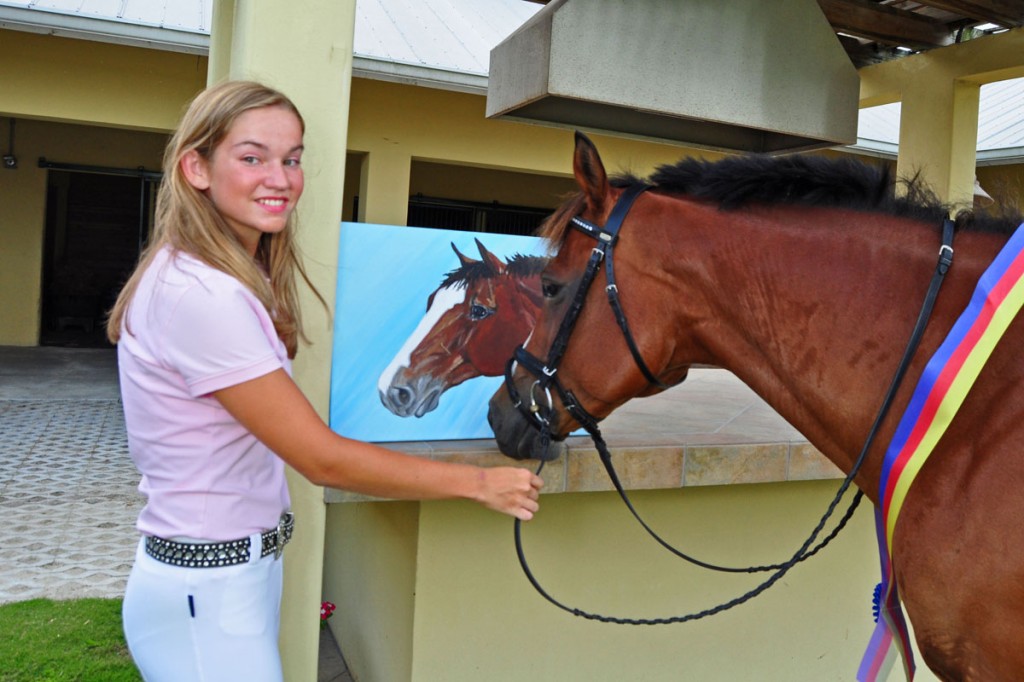
I guess the big news this summer was the acquisition of Slogan, another Dutch warmblood. I wasn't involved in all of the details, so let's just say we swapped Apollo for Slogan (or "Logan" for short, as Chloe has taken to calling him). Here he is in late June as they were getting acquainted:
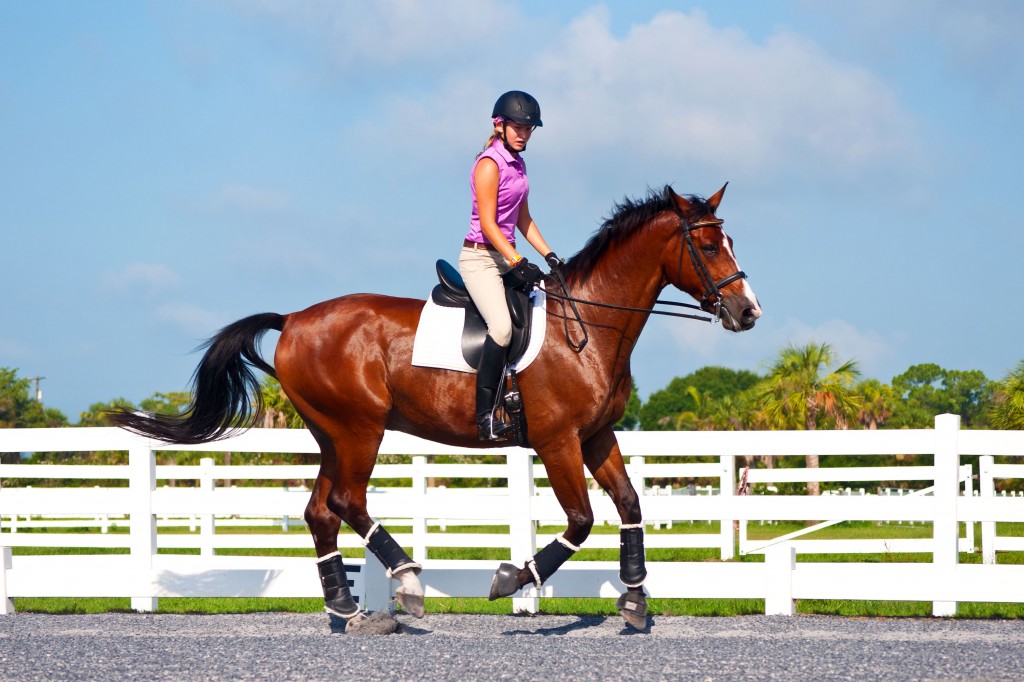
Slogan's former Dutch owners left a message on this blog looking for information on what had become of their beloved Slogan. Chloe was thrilled to be able to have some Dutch pen pals so they have been communicating and exchanging photos. This is from an early workout, Chloe and Slogan in the arena:
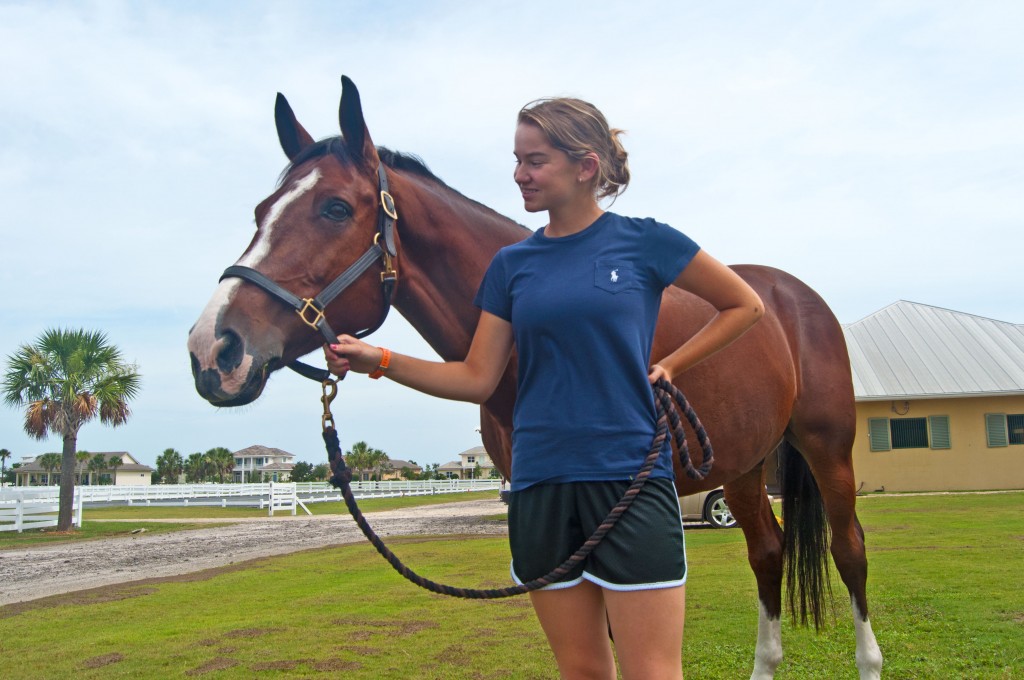
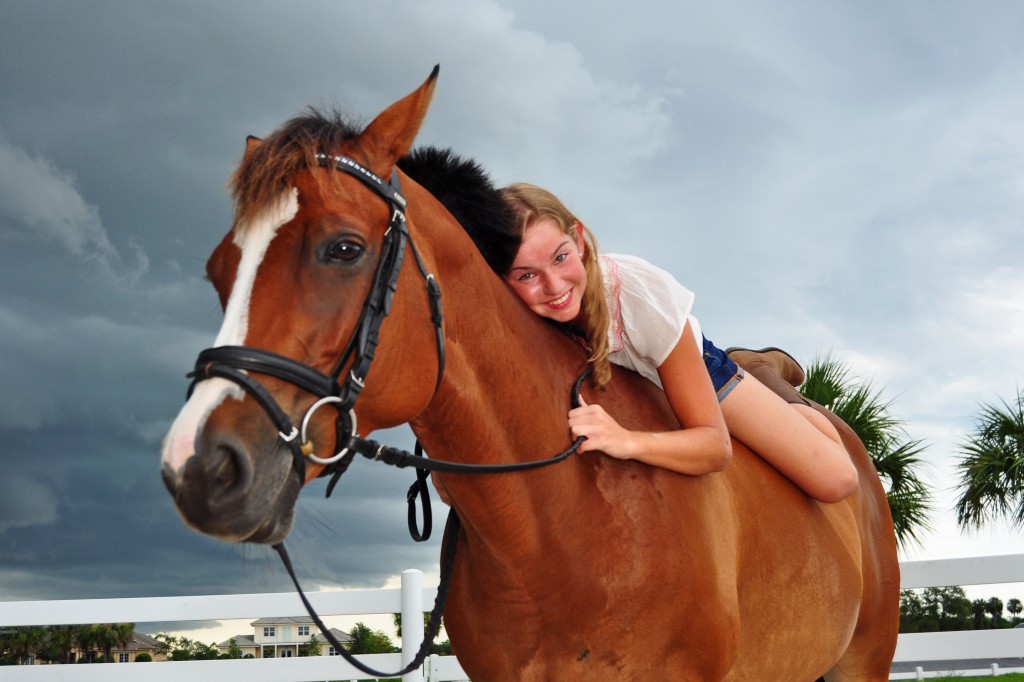
I've been absent from around here for a while primarily because I decided to take a few courses in lighting and specifically in off-camera lighting. One of the basic things I practiced was to just use a reflector and turn the strobe (flash) pointed into a large poster board that I was using as a reflector. This creates the illusion that the strobe is off camera and coming into the subject from the side. Here is an example using Chloe as my model:
It was beginning to storm on this particular day in August, so ambient light was fading and what I was attempting to do was add a little fill using the poster board in my right hand with the camera in my left. Actually, I think I got my assistant, Linda, to hold the reflector, but the point is that you can actually do this fairly simply and create the illusion of off-camera lighting. Here is another example holding the reflector in my left hand while framing the shot in my right hand:
The reflector concept works pretty well and is a simple setup, but the real goal was to go totally off-camera. So, as I have progressed in my self-schooling, I also began to accumulate some of the gear I would need. For example, I would need some additional strobes, so I bought a couple of more on eBay, and I also purchased four Cactus V electronic triggers to remotely fire the off-camera strobes. Of course, you'll need a few more items like light stands, etcetera, and very importantly, light modifiers, such as an umbrella, to diffuse the strobe light. It can get quite involved. In my next post, I'll demonstrate some of my early attempts at learning the technique.
